Hello Everyone!
Today I want to share how I used the fun two step stencil that is included in the Creative Kit this month.
Today I want to share how I used the fun two step stencil that is included in the Creative Kit this month.

So let's get started!
Step 1: Work outside! Just joking, being outside is not necessary for this project but I did because it was a beautiful day. I pulled all my materials outside and sat on my back deck listening to the kids play while I created...perfection!
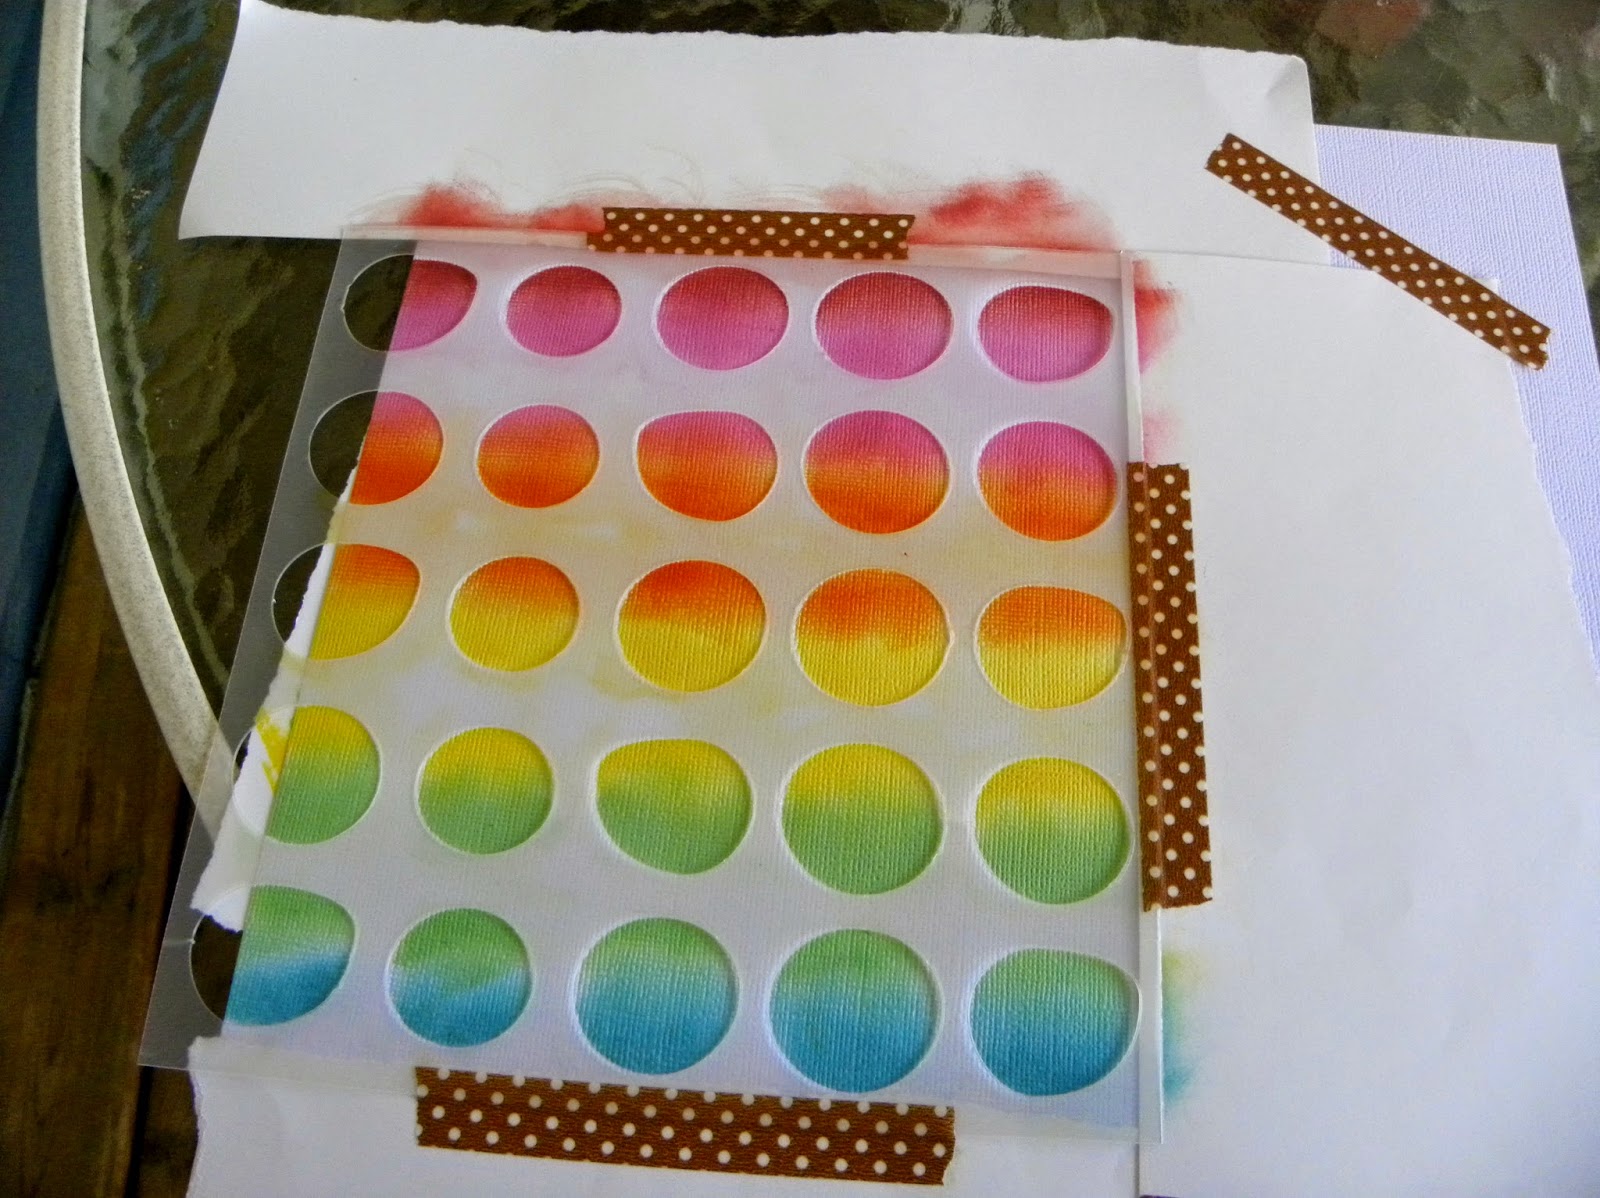
Step 2: tape your white cardstock to the table. I used washi tape because it is sticky enough to hold the paper down but not so sticky that it rips the paper when you remove it.
Step 3: I carefully snipped the little icon circles from the stencil because I only wanted to use the circles.
Step 4: I didn't want to get any color any place outside my stencil so I used the washi tape again to tape some scraps of paper over my white cardstock.

Step 5: I wanted to make a rainbow effect so I selected my colours of Distress Ink. I started at the top with the red and used my foam applicator to rub it half way into first row of circles in the stencil.

Step 6: I used a bright pink to fill in the bottom half of the first row of circles, and then kept going with the pink ink to fill in the top half of the second row of circles.

Step 7: continue down the rows applying the ink in rainbow order
Step 8: when you have the ink as you want it remove the stencil from the paper.

Step nine: I took two of the little stencil icons that I had previously removed (the word 'love' and the little star) and I placed them back onto my rainbow circles. I did one close up spray of an opaque white mist over each icon. This muted the ink color a bit on some of the surrounding circles, but I liked the look.

Step 10: Build your layout on top of your stenciled paper! here's what I did with mine...

How do you think you'll use the stencil in your kit? I'd love to see!!!
Thanks for stopping by,
~Becky
No comments:
Post a Comment